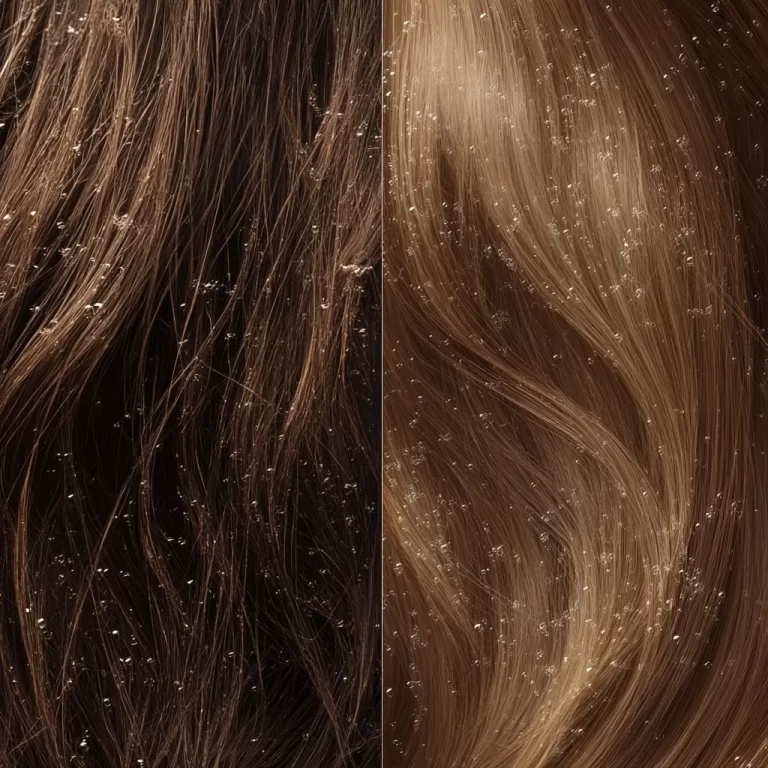
If you’ve got long, bouncy curls like mine, you know the struggle of dealing with frizz, flat roots, and uneven curl formation. Growing up, my wavy hair was a constant challenge, especially in London, where the weather seemed to have a personal vendetta against curly hair. Rainy days often turned my natural curls into a frizzy mess—until I discovered the magic of using a hair diffuser.
Now, I’ve mastered the art of diffusing and it’s completely transformed my curly hair care routine. Here’s my simple step-by-step guide to achieving beautiful, voluminous curls, even against London’s temperamental weather.
Step 1: Prep Your Hair
Start your wash day by prepping your hair for styling:

- Use the right products: Choose a sulfate-free shampoo and a hydrating conditioner suited for your curl type.
- Dry gently: Gently squeeze out excess water with a microfiber towel or a cotton T-shirt to minimize frizz and keep your curls intact.
- Add moisture: Apply a leave-in conditioner or curl cream to damp hair to lock in hydration.
- Protect your hair: Use a heat protectant spray to guard against damage, even on low heat settings.
Step 2: Choose the Right Heat Setting
Understanding your hair dryer’s settings is crucial:
- Start low: Begin with the lowest heat and air settings to gently dry your hair.
- Gradually increase: If needed, slowly increase the heat, but avoid high heat to reduce the risk of frizz.
- Lock in volume: Use the cool air shot button at the roots to lock in volume and enhance your curls.
Step 3: Master the Diffusing Technique
Here’s how to diffuse your curly hair effectively:
- Attach the diffuser: Secure the diffuser attachment to your hair dryer.
- Position your head: Flip your head upside down to add extra volume.
- Dry the ends first: Start by cupping the ends of your hair in the diffuser bowl, working your way up.
- Work in sections: Hold the diffuser in place for a few seconds on each section, focusing on the roots last to achieve voluminous curls and even curl care.
Step 4: Handle London’s Unpredictable Weather
Adapt to London’s famous weather changes:
- Check the forecast: Always check the weather before heading out.
- Prepare for rain: On rainy days, use a weather-resistant hood or carry a compact umbrella.
- Refresh your curls: Apply a curl refresher spray for quick touch-ups.
- Combat humidity: Use a lightweight curl oil or serum to fight frizz and keep your curls looking their best.
Step 5: Add the Finishing Touch
Complete your look with these final steps:
- Add shine: Apply a light styling product, such as a curl cream or leave-in conditioner for added shine and hold.
- Scrunch gently: Scrunch your curls without disturbing the roots to maintain volume.
- Protect on the go: On low-maintenance days or during sudden downpours, tie your hair in a loose bun or ponytail.
Why Use a Diffuser?
Using a diffuser is essential for:
- Maintaining curl pattern: It evenly distributes heat, reducing frizz and drying time while enhancing curl definition.
- Increasing volume: Especially useful for long, coily hair, it helps achieve uniform, voluminous curls.
- Preserving natural texture: Provides a gentle drying method that keeps your hair’s bounce and natural shape.
Final Thoughts: Embracing Your Curls in London
Mastering the diffuser has revolutionized my curly hair care routine. No more flat, frizzy hair or hiding under hats. Despite London’s fickle weather, I’ve found a routine that works for my curl type. My curls are now a defining feature of my look, and I’ve learned to love them—rain or shine.
So, guys in London, don’t let the weather get in your way. Follow these steps, be patient, and you’ll enjoy good hair days every day. Embrace your natural hair texture and let your curls shine, even in London’s infamous drizzle.
If you want to learn more about how to reduce frizz, check out the additional steps I follow for diffusing curly hair.
How to Diffuse Curly Hair Without Frizz
To diffuse curly hair without frizz follow these easy steps:

Step 1: Pre-Shower Oil Treatment (The Crucial Step)
Before you even step into the shower, it’s essential to give your hair a pre-shower oil treatment. This step is crucial because it locks in moisture and nourishes your hair, providing an extra layer of protection before you diffuse. Applying oil before washing creates a protective barrier that minimizes water absorption, reducing the risk of frizz and ensuring your curls remain defined and soft.
- Why It’s Important: Pre-shower oiling helps protect your hair from hygral fatigue and reduces protein loss. Studies show that oils like coconut oil can penetrate the hair shaft more effectively, offering superior protection against damage. For more on the benefits of pre-shower oil treatments, check out this study and this article.
- How to Do It: Apply a concentrated hair oil, like the one I use made from Vetiveria, Black cumin, Indian gooseberry, and Neem, about 5 minutes before showering. This oil is enriched with natural Vitamin E and over 120 herbs, making all the difference in keeping frizz at bay after diffusing.
Step 2: Use a Leave-In Conditioner (But Choose Wisely)
After your shower, apply a leave-in conditioner to damp hair to lock in moisture and create a smooth base for diffusing. Opt for products with hydrating oils (like argan or coconut oil), moisturizing butters (such as shea butter), and proteins (e.g., hydrolyzed rice protein). Avoid conditioners with heavy silicones, excessive oils or butters, high glycerin concentrations, sulfates, and drying alcohols, as these can cause buildup and frizz. For more details on ingredient choices, check out Healthline’s guide.
Step 3: Choose the Right Heat Setting

Understanding your hair dryer’s settings is key:
- Begin with the lowest heat and air settings to gently dry your hair.
- Gradually increase if necessary, but avoid high heat to reduce the risk of frizz.
- Use the cool air shot button at the roots to lock in volume and give your curls that extra lift.
Step 4: Master the Diffusing Technique
- Attach the diffuser to your hair dryer.
- Flip your head upside down for added volume.
- Start by drying the ends of your hair first, gently cupping small sections of hair in the diffuser bowl and working your way up.
- Hold the diffuser in place for a few seconds on each section, focusing on the roots last to achieve voluminous curls with even curl care.
Step 5: Add the Finishing Touch
- Apply a light styling product, such as a curl cream or oil, for added shine and hold.
- Scrunch your curls gently, avoiding the roots to maintain that voluminous look.
How to Properly Prepare Your Hair for Diffusing
To prepare your hair for diffusing without frizz:
- Gently squeeze excess water with a microfiber towel.
- Apply a curl-defining product evenly to damp hair.
- Diffuse with low heat and airflow settings, cupping sections of hair in the diffuser without moving it to minimize frizz.
Caring for Curly Hair Post-Diffusing
Daily Care Routine:
- Use a silk or satin pillowcase to reduce friction and minimize frizz.
- Refresh curls each morning with a mixture of water and leave-in conditioner or curl refresher.
- Avoid brushing; instead, use fingers or a wide-tooth comb for detangling.
- Maintain moisture and shine with a light layer of curl cream or oil.
Strategies for Healthier Wavy to Curly Hair:
- Hydrate regularly: Deep condition your hair at least once a week.
- Trim regularly: Prevent split ends by getting regular trims.
- Limit heat exposure: Use low heat settings and avoid excessive heat styling.
- Dry gently: Opt for microfiber towels or a T-shirt to dry your hair post-wash.


